Daily Dracula X - Stage 2' - Breaking Through The Front (Alternate Path)
(I Hate Taking The Long Way Around)
The Bone Bridge
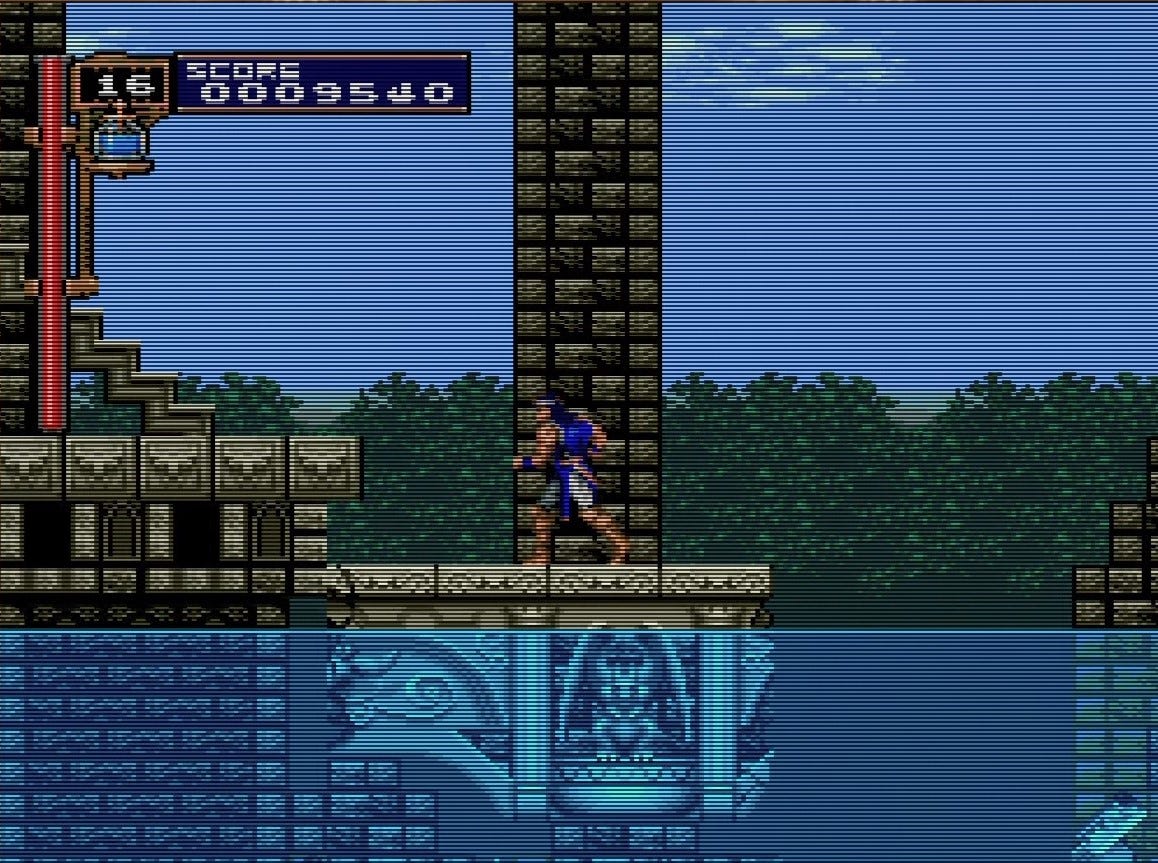
This is one of the meaner alternate routes in the game. At the start of Scene 3 it sure looks like there’s something across the water, right? But the other side is way too far off; Richter couldn’t possibly jump it.

So we climb up and move forward to the collapsing bone bridge, and purposely allow ourselves to fall with the bone bits to cross.
The thing is, if you stand on any of the parts of the bridge but the very last collapsing bit, you’ll just fall to your death. It feels like you could maybe hop it at the right time, but you can’t, you just sink like a stone and I spent a lot of Richter’s lives finding that out.1 Stand on the very last collapsing segment, hold right as you fall, and you will make it safely across the water.

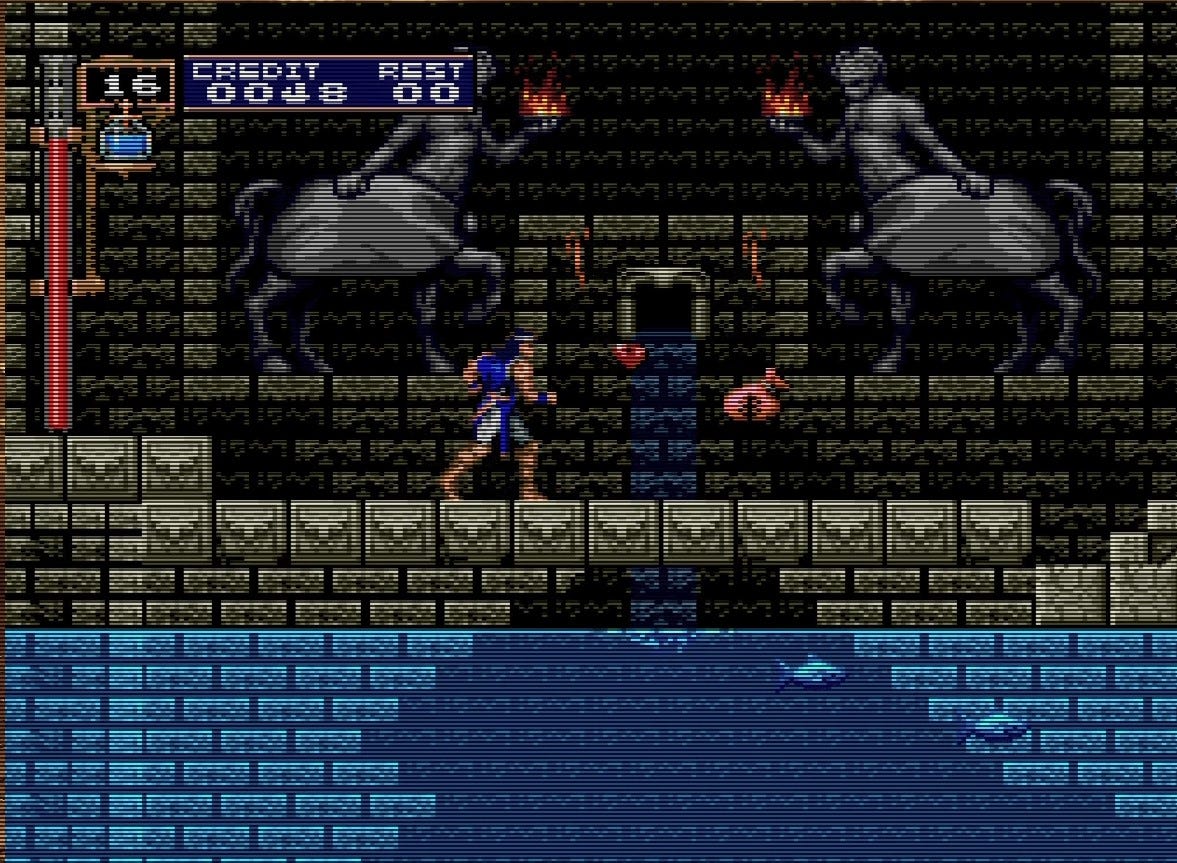
From here it’s a straight shot to the boss with some light platform hopping and a tough Armor Lord to fight at the end, as night falls.

Armor Lords are among the toughest regular enemies you’ll fight in the game, but their patterns are slow and simple. Just stand about half the screen away from them, let them swing, counter-attack, and repeat. When they start throwing fire, wait until they’re done— really done— because they attack repeatedly, a random amount of times.
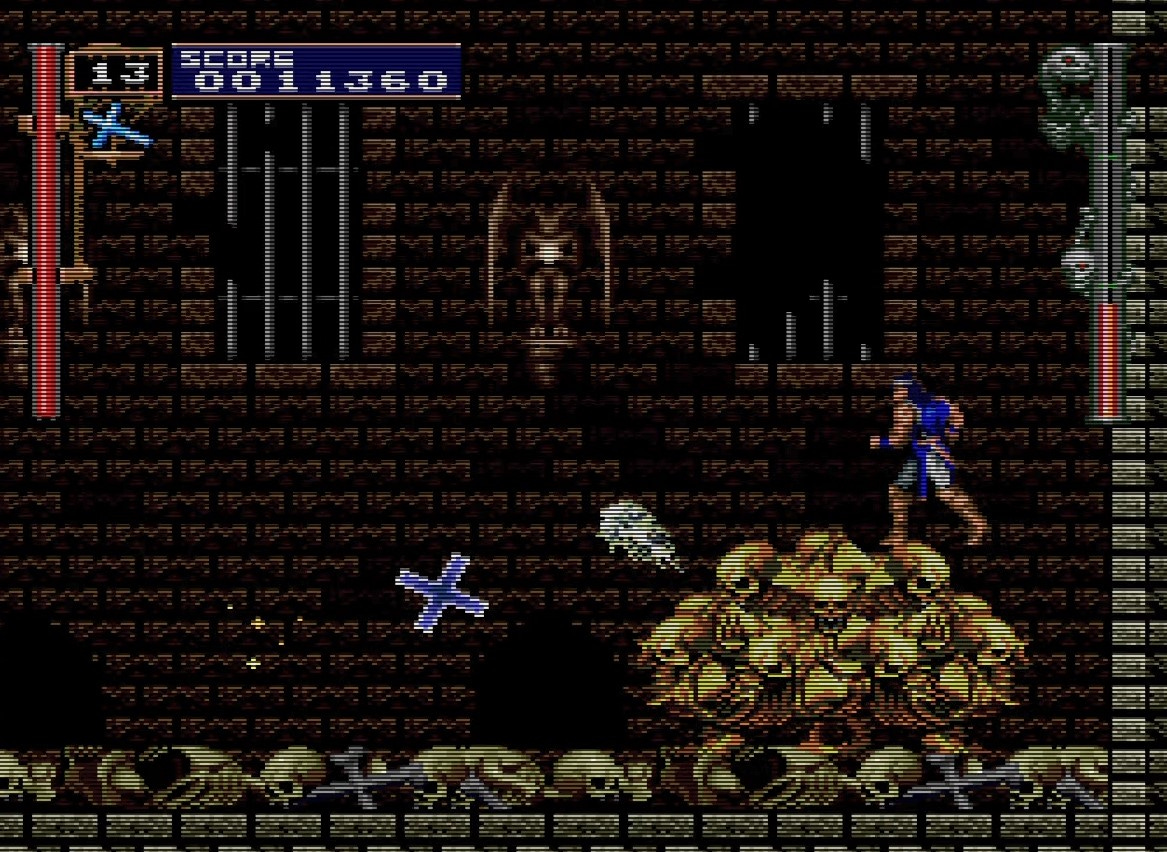
Boss prep
I only include this because I want you to admire this particular, beautiful boss prep room. Consider its gorgeous wall carvings and animated fish swimming in the water below. Most of the boss prep rooms are drab, but this one is lovely.
Anyway, break the wall and pick up the cross. You definitely want the cross for this fight.
Boss: Bone Golem
Your real reward for taking the alternate route through the alternate Stage 2 is getting to fight this unique three-phase boss, who doesn’t appear anywhere else.

The first form is a straightforward flame-breathing monster: just jump up and whip his head, retreating the second he turns orange and gets ready to breathe fire at you.

The second and definitely funniest form is the bone-bird, which for some reason I took to calling “bone-copter”. I love this one. Anyway, this form is why you brought the cross boomerang with you. Throw it at the “head” and it’ll hit more than once. Keep attacking steadily with whip and cross and you should be able to take it out before it even makes itself a threat.
The final form is the bone turtle, which spins furiously on the ground like an out-of-control, undead Roomba. You’ll get hit if you touch his sides, but you’re safe if you jump on his head, which you’ll eventually need to do if you want to dodge his attacks. Keep your distance and attack with the cross. Note that he stops moving when he takes a hit: if you’re pinned against the wall, that’s your chance to jump on the turtle’s back and escape. Repeat until cooked. You’ll note that everything explodes in this game, even bone golems.
Next time I’m going to show you a third, secret way to get out of Stage 2’ with the help of a friendly ferryman.
The runs I’m sharing are relatively smooth, and maybe I’ll leave a death in there, but that leaves out all the trial and error of beating these stages for the first time. One key consideration is the old-school “lives” structure: If I die three or four times in a run, I have to play the whole stage over, even if I made it to the boss. This leads to a lot of repetition, until you’ve got the stage patterns down perfectly. That’s the true structure of this game! ↩