Daily Dracula X - Stage 4: Atop Countless Terrors
Atop The Corpses Of Thy Brethren
Now that we’re deep in the bowels of the castle, the game is taking the gloves off. An intense dungeon stage loaded with bone dragons, cruelly placed obstacles, and treacherous platform jumping.
Music: Beginning
Completing the list of obligatory Castlevania covers is the first stage theme from Castlevania III. There’s a reason the games keep going back to these NES-era melodies— they’re very catchy— but as the levels get longer and tougher, I have to admit, the short length and thus frequent repetition of these tracks (only so much data fits on a CD) started to grate on me.
Scene 1

A tougher version of the start of Stage 3, you’re working your way up a two-tiered room while being attacked from both floors. The Flea Men at the start here are especially annoying because they’re so fast, and you’re backed up into a corner. Wait for them to fall from their jumps and swat them.
On the far right end, be sure to get the candle that gives you an axe. You’ll be needing it for later enemies.
Scene 2
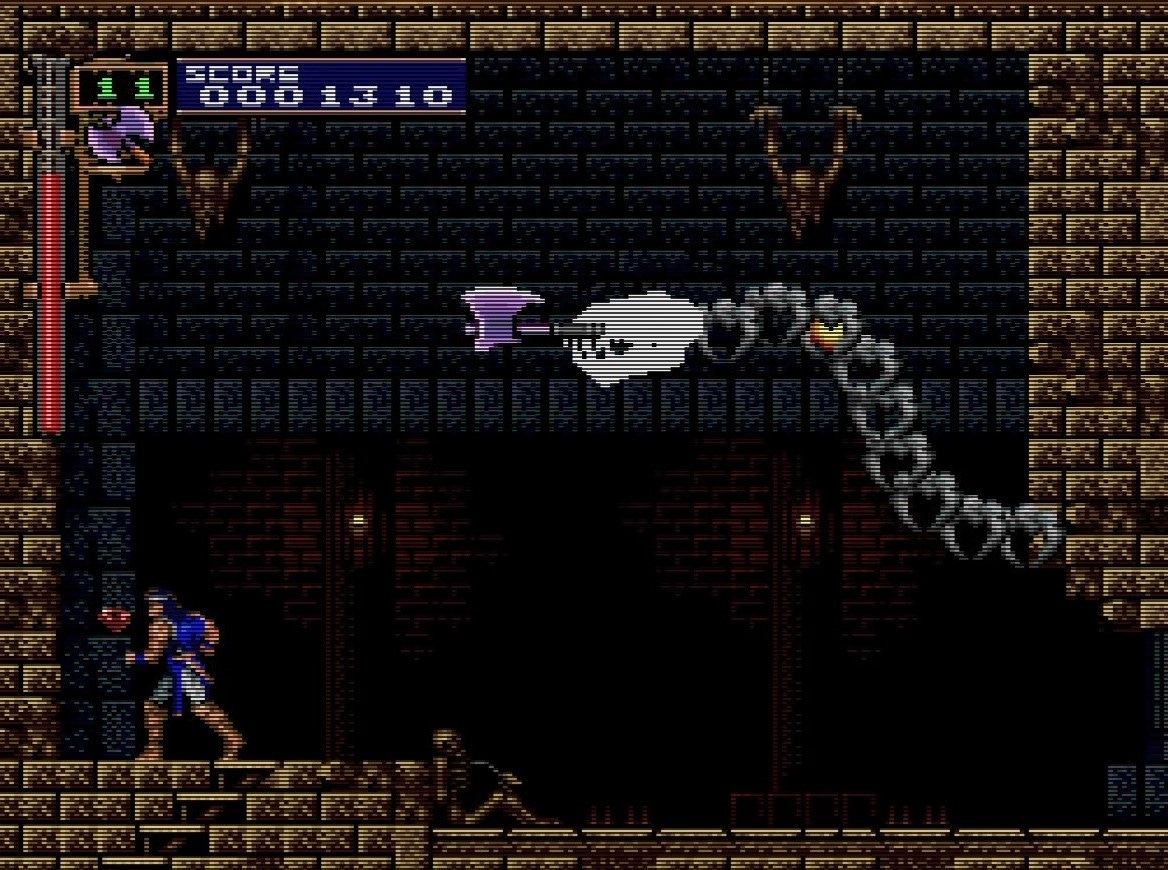
Like for example the bone dragon who immediately surprises you at the top of the steps. Now’s the time for those axes.

Immediately after this is a sequence where you hop over rotating spikes while dealing with skeletons tossing their bones at you in an arc, just like you throw your axes. Measure their distance out, use the axes again, and makes sure the skeleton is dead before you jump.
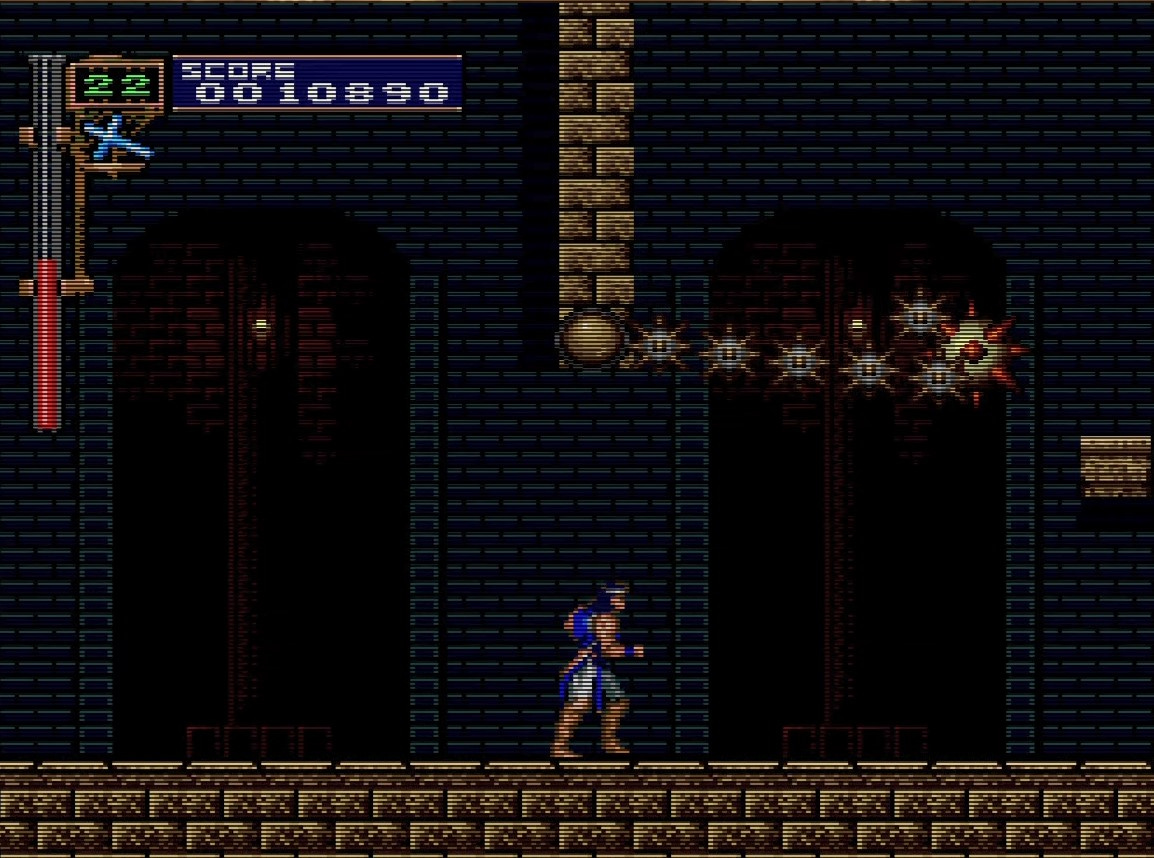
Here’s this level’s fork in the road. Note the red buttons: they do bad things— in this case shoot arrows at you, so just never jump on one.
For now we’ll ignore the button guarded by a Flea Man. This stage has an alternate path, but it’s both very difficult, with various cruel tricks, and also, it leads to the same place as the main path does.
So we’ll cross under the crushing spiked weights and past a bone dragon to the next scene.
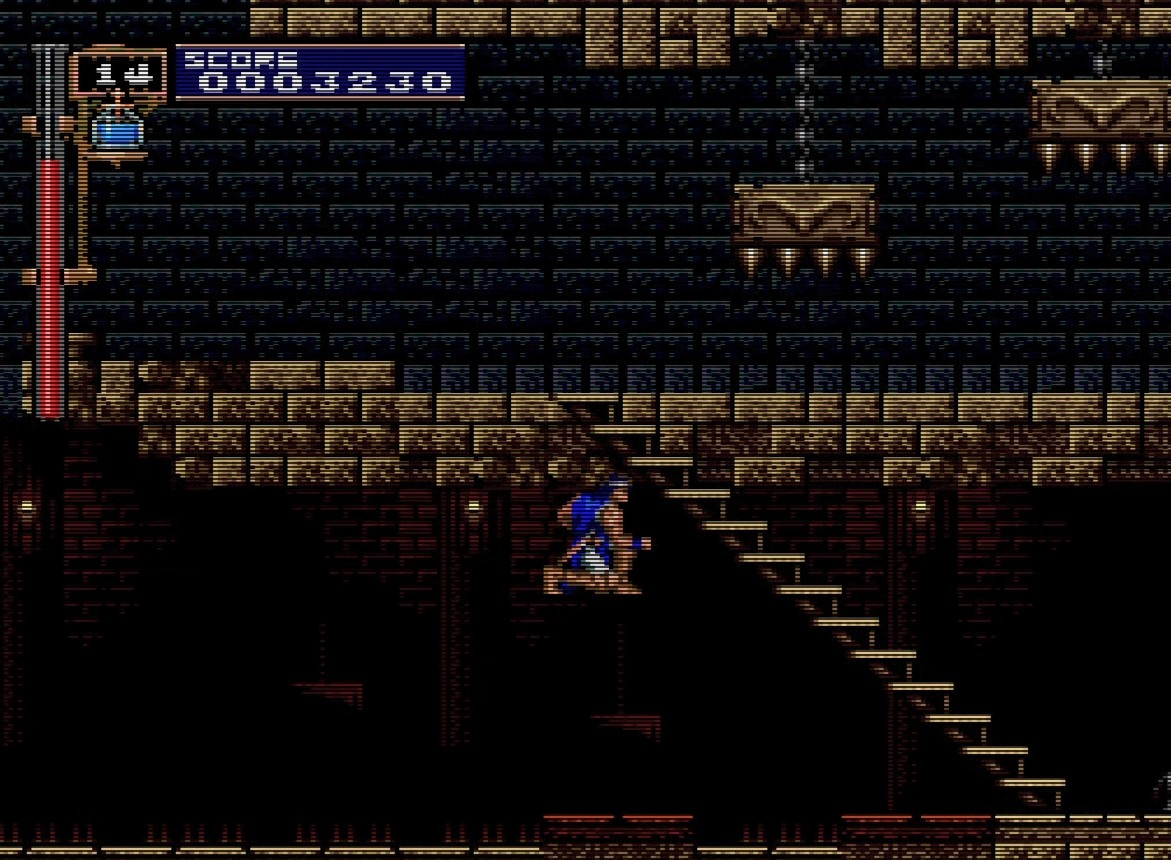
Scene 3
Here begins a hellish climb; not nearly so dangerous to your life as the alternate path, but somehow much more frustrating.
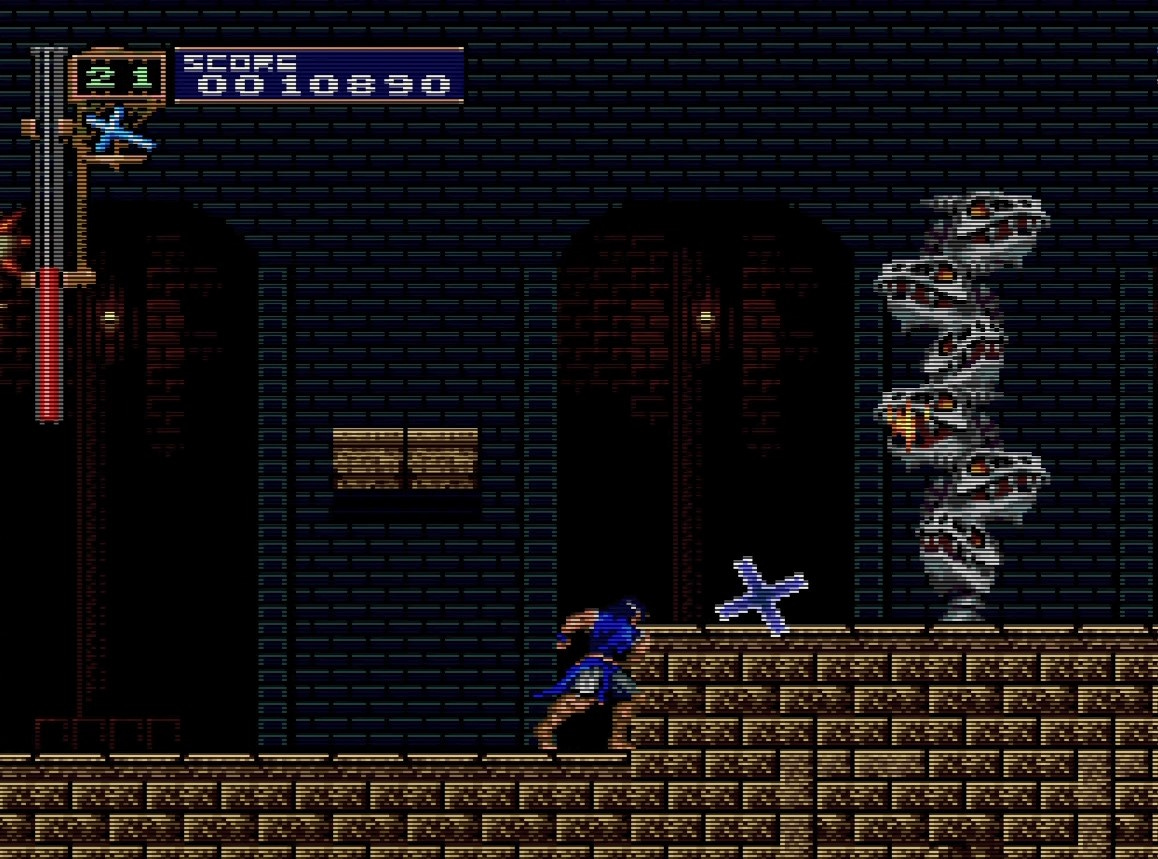
As you walk into this area simply move forward as fast as you can while whipping candles: you’ll get a cross that will kill the pursuing enemies so you don’t have to.
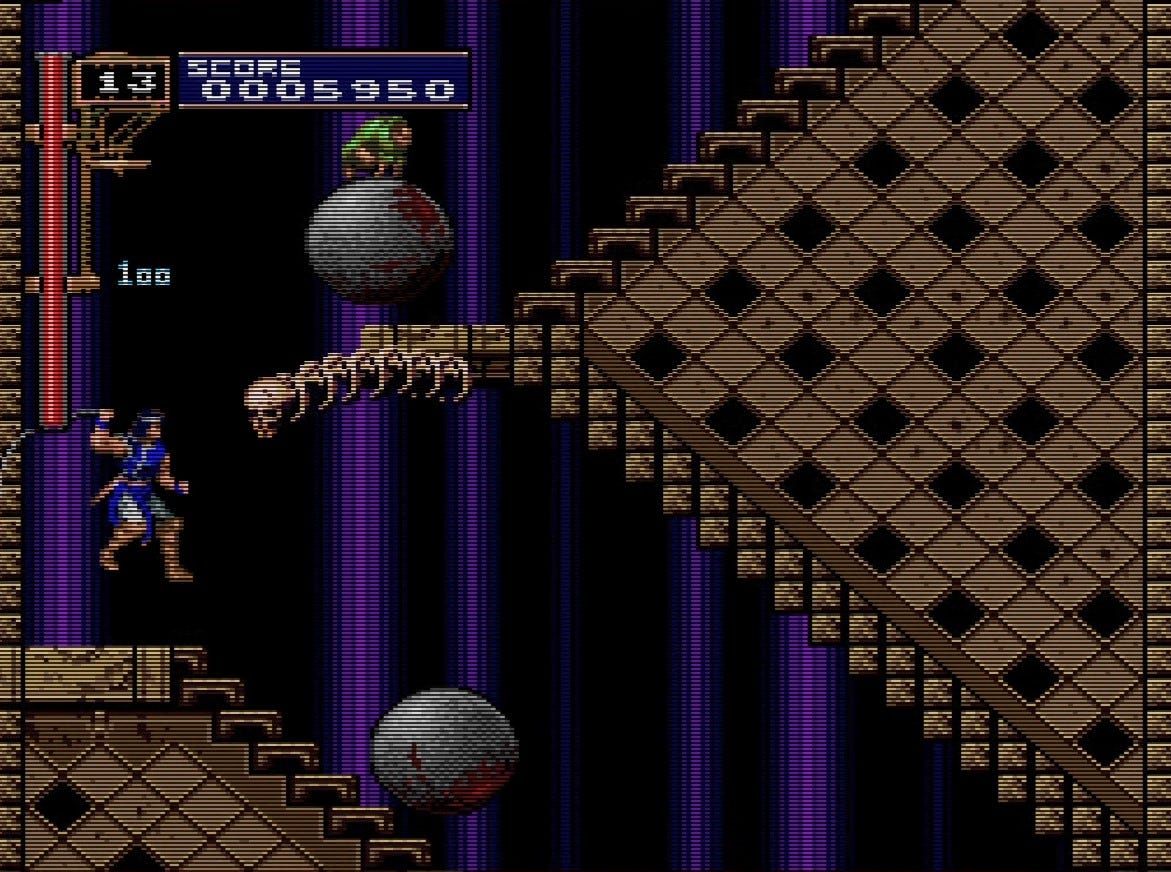
And here’s that climb I was talking about. Flea Men riding atop bloody steel balls form a procession down this staircase. For Richter to get up, he needs to kill the Flea Man, jump on the ball, and then immediately jump onto the platform before the ball hits the next stair. Then repeat until the room is over. It sounds easy, and it isn’t. There’s no trick around it aside from picking Maria, who can double-jump and thus has it very easy.
Scene 4

Another two-floor gauntlet, this time featuring the Axe Knight. Refer back to the Stage 1 post to find out how to deal with his pattern.
I recommend grabbing the cross from the far left end for an enemy later.
Scene 5
A red Axe Knight surprises us at the top of the stairs. He doesn’t throw axes, and in fact only uses the charge move. Keep him at whip’s distance, and run when he makes a move, and you should be able to kill him fast enough not to get hurt.
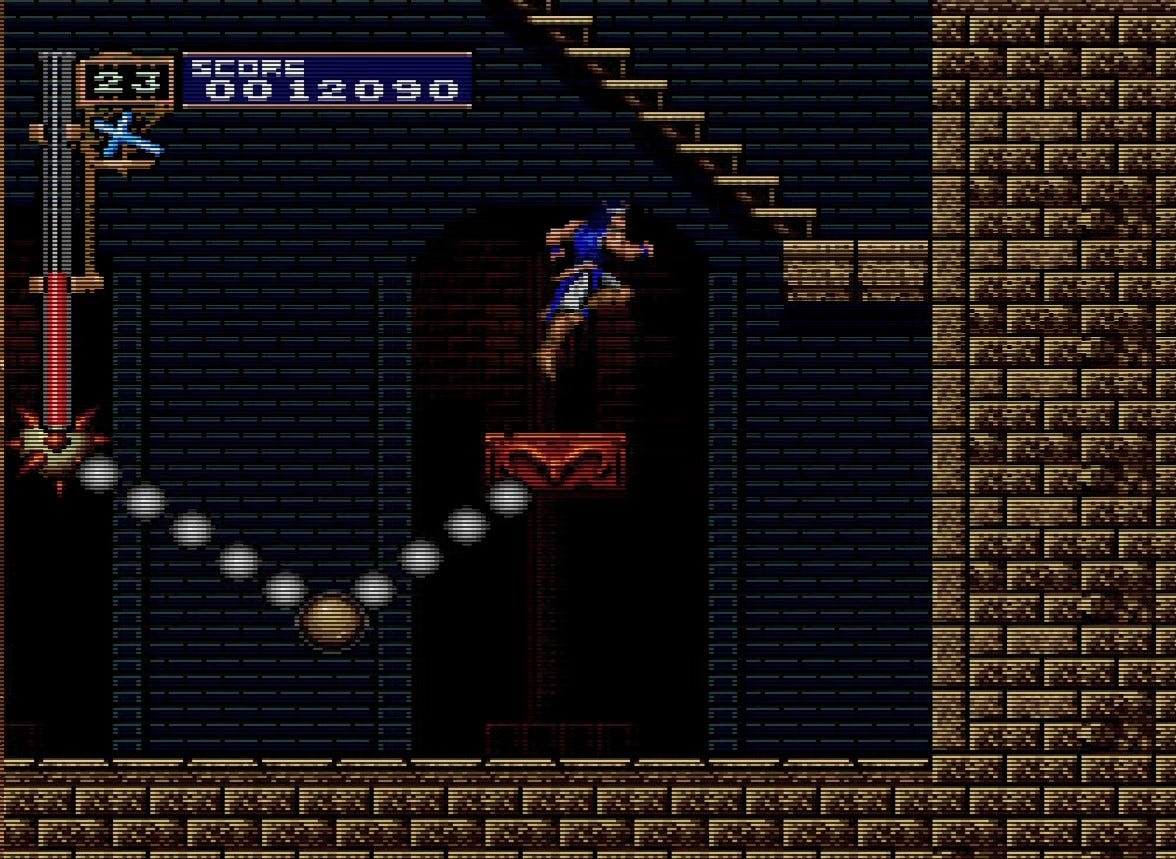
There’s a unique hazard here: a ball and chain you can hit with your whip. Whip it once to knock it forward so that you can move on.
Here’s where the cross comes in, at this giant tower of dragon skulls. You could fight these guys normally and face a volley of flame breath, or you could stand under the platform they’re on top of and throw a cross boomerang repeatedly until they’re all dead. Your call.
A spiked swing trap blocks your progress this time. The right wall really looks like you can whip it open, and you can, but instead of a normal health item there’s a bomb. So never mind it and continue up the stairs to the boss.
Boss: Dullahan
Today’s key to victory is the holy water in the prep room!

The dullahan attacks with his spear, some magic, and his detached head. His attack patterns are pretty straightforward and easy to deal with, once you understand what you have to do.
When he gets ready to stab, stop whipping him and move back. When he gets ready to stab into the ground, hurry to the top platform: he’s about to make a magic blade wave come out of the ground and hit you.
When the dullahan’s head flies to the center of the screen, run to the left side underneath the entrance. He’ll do one of two things. If the screen starts to shake, debris will start falling from the top of the room shortly. You’re safe under the room entrance here. If the head starts to glow green, it’s going to come at you. Turn your back to it and do a backflip (hold crouch, double-tap jump) as it approaches. If you’re standing in the right spot on the left of the screen, it won’t attack again.
You have two platforms positioned above you on either side of the room. On these platforms, you’re standing at just the right angle to throw the grenade-like water at the boss. If you have a lot of hearts and you want to play it safe, it’s possible to simply keep a distance and throw holy water until the boss is dead.
Next time we’ll discuss the significantly more annoying alternate path through this level. See you on the spikes, vampire killers!