Daily Dracula X - Stage 4': Fortress Of The Water Demon
The Final Divergence (for now!)
Coming out of the cavern in Stage 3’ and crossing over a river. For now, this is the last of the alternate stages, and much to my relief, we will be proceeding in a straight line from Stage 5 to the final showdown with Dracula in Stage 8.
But Daily Dracula X won’t end there! This is a game ahead of its time in many ways, and there is what you might call “post-game content” afoot. I’ll also be writing a conclusion to talk about exactly what I meant to achieve by subjecting you to all this vampire action.
In a break with the other alternate stages, this one is actually pretty straightforward and simple compared to the regular Stage 4. However, there’s a captive hidden up here, and the way to find her is not obvious.
Music: Slash
If it makes sense, I think this is the track that fits in the best with the old Castlevania themes: high energy, vaguely spooky, overall catchy. Organs.
Scene 1

How can we make these parts with the bats and crows more annoying? How about frogs?
That’s right, this time you’re dealing with crows swooping down from above and frogs hopping up from below. Frogs are tiny and hard to hit, and of course will attack you with their tongues. I like to avoid these guys outright. When you have to deal with them, hit them at maximum whip range to avoid their mighty tongue lash.
Be careful on the low platforms that dip into the water; the frogs swimming through these are also enemies and can even knock you into the water to your death.
The best way to get through much of this stage is as fast as you can. The longer you stick around, the more of a problem your tiny, agile foes become. The frogs who appear in front of you will often jump over your head, allowing you to cross underneath them.
Speed through this area while you deal with the crows. Make it to the last candle and you’ll get a cross that will blow up all the enemies anyway.
Scene 2

Here’s the fork in the road for this stage: cross over the waterfall on a bridge or ride down it on a log instead? The log option is irresistible— and certainly that was the path I first took— but for right now we’re going to stick to the main path, above.
You’ll get the axe here: as usual, keep it.
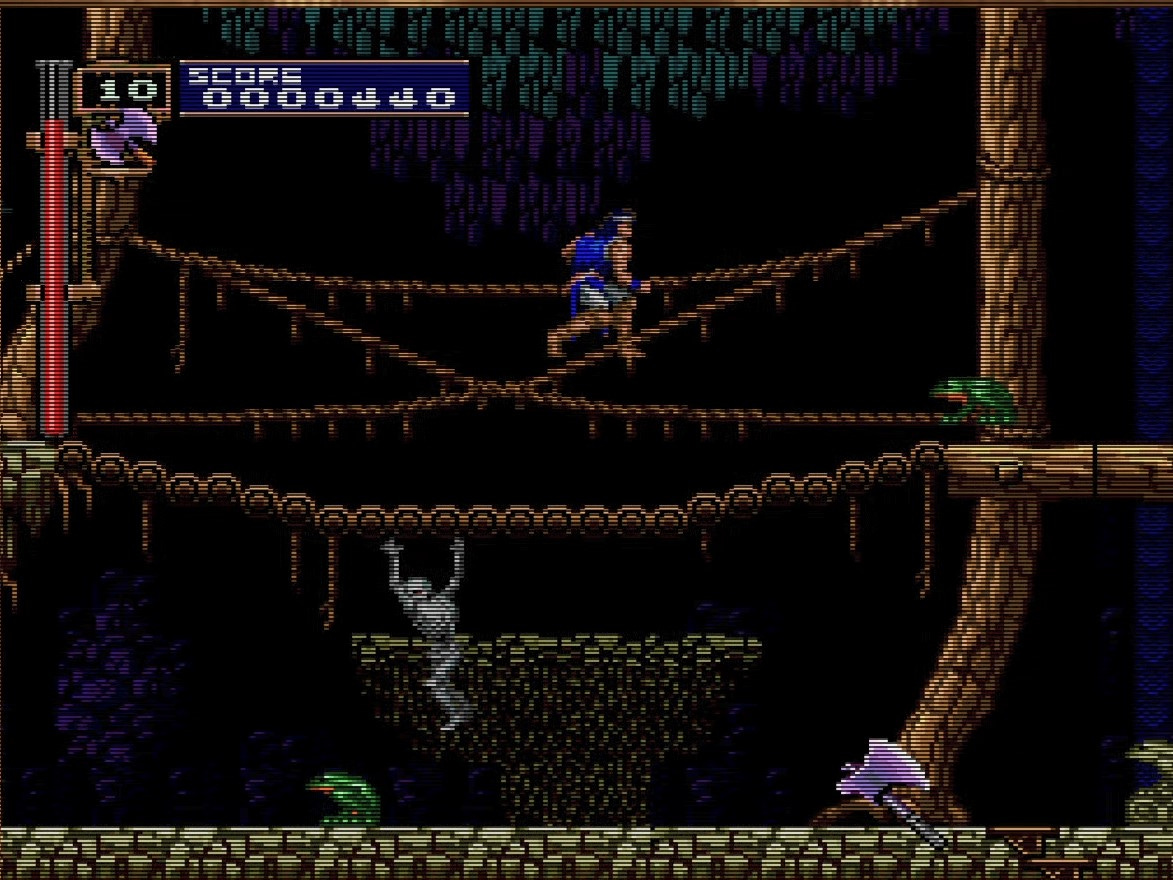
Skeletons, ever the hard working comedy henchmen, attack you from above and below on a series of log bridges, along with a few frogs. I love the animation of the skeletons swinging arm-over-arm here, and the way the log bridges shift under your feet in this segment.
Here’s where you need to rescue the hostage, and it’s easy to miss. Attack the first and third of three frog statues at the beginning and end of the scene. From the last frog statue, backtrack to the middle of the stage and you’ll see that the log here has been lifted up, opening up a hidden passageway downstairs.
Scene 2a

A simple pit of mermen. As before, these guys pop up from the bottom of the screen in unpredictable places, so be on your guard.
The next hostage, Iris, is being held at the end of this passageway. If this is your first time here, you’ll save her and see the accompanying cutscene (one I was unable to record myself in my first run, apologies.). If it’s your second, this becomes a treasure room with every weapon in the game available. I would again stick with the axe.
You ever notice how I never tell you to pick up the stopwatch? That’s because it’s just about useless in this game. Notice how I always tell you to pick up the axe? That’s because so many enemies in this game attack from above. It’s hard to go wrong.
Scene 3

Another section you need to speed through or get hurt. Skeletons hide behind trees here: I love the way they’re animated peeking out at you! But the real danger is birds carrying Flea Men; you can’t ignore these guys because they’ll drop the Flea Men and the Flea Men like to bounce all over the place. Get a bunch of Flea Men on the screen and you’re in a lot of trouble.
I like to nip a problem in the bud, which is why I told you to bring axes. With axes, you can simply take out the bird or the Flea Man as soon as they appear. Press through this area fast, throwing your axes when you need to, and it shouldn’t be dangerous.
The boss is once again the Dullahan. See the Stage 4 post on how to deal with him.
Next time we’ll return to that very tempting waterfall and take the alternate path through. See you on the raft, vampire killers!