Daily Dracula X - Stage 7: Hear Now The Requiem Of Blood
Believe In The Dawn
(About the run: I die a bunch of times at the boss after putting in what I think is an unusually good run of the stage. I didn’t think I’d do much better than that stage run, and I die to my own hubris the first time I fight Shaft, so I just left the struggle in, leading to an unusually long video.)
The final obstacle course before the last boss is a hard climb up Dracula’s clock tower and into a multi-layered labyrinth crawling with powerful enemies. But if you made it through stages 5 and 6, you’ve already got the skills to make it out. The last big secret— Richter’s love Annette— is also locked away in a tower here.
The latter part of the stage’s main and alternate paths are somewhat intertwined in a way that, again, foreshadows the wide-open format of Symphony of the Night. I’ll be taking you on one path through this level— even skipping some parts using some tricky jumps— so there won’t be an “alternate path” post this time.
Music: Den
The track is a little longer this time, because you are going to be here for a while. This song has a series of vague reprises of the classic Castlevania anthems we heard before, but quieter, more ominous. Things are coming full circle.
Scene 1
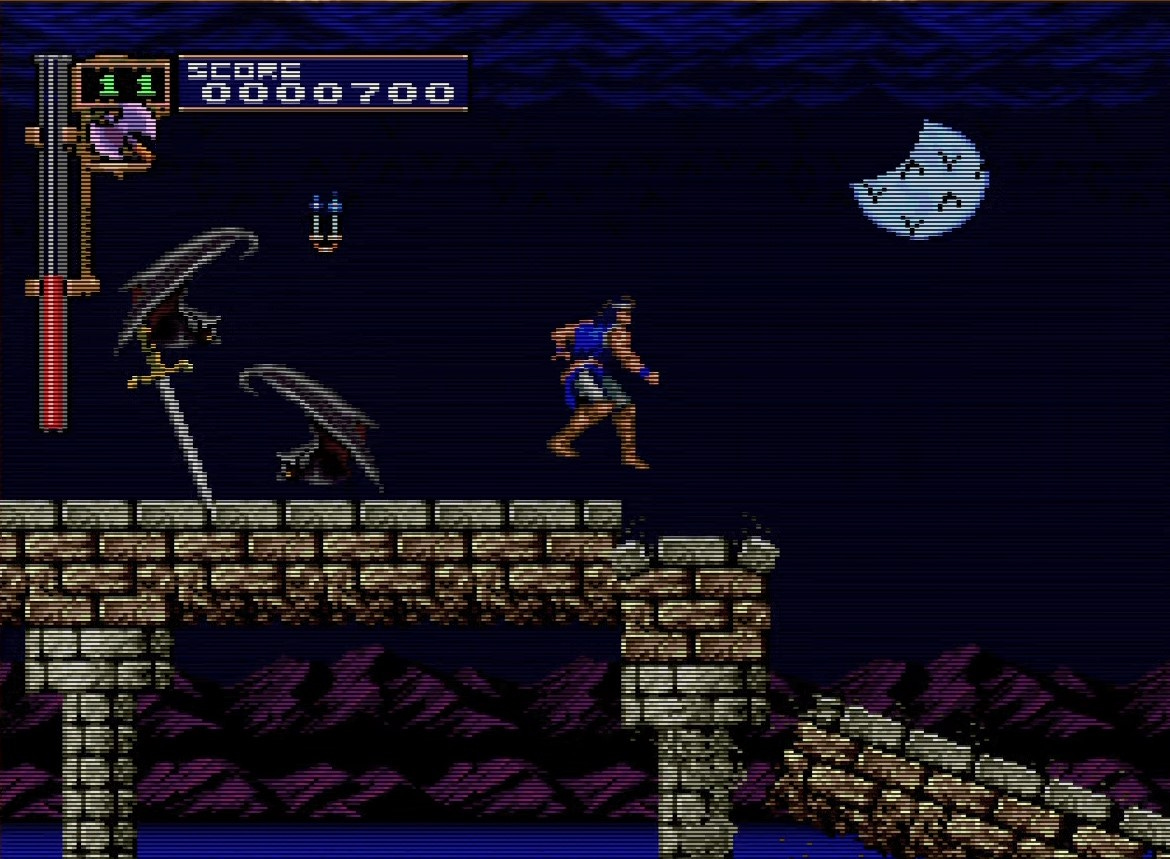
This first segment looks innocent enough until you move forward and realize that the bridge is collapsing under your feet. On top of that, huge bats, too big to avoid, are coming at you rapidly from behind. Still more bats block your path as you run for your life. Some of the bats are holding swords, just to be mean. This is one rough start.
You don’t have time to so much as swat candles here. Just move forward as fast as you can. The bridge is collapsing. You’re gonna die. Move.
Remember the moonwalk? It’s very helpful here to walk backwards, as most of the enemies we have to deal with are coming in from the right.
The giant bats take two whips to kill, and you don’t have the time to fight them all. Often evading by crouching underneath them is better.
You’re probably going to get hit a few times here. Stay grounded and let it happen; it’s better than falling.
Scene 2
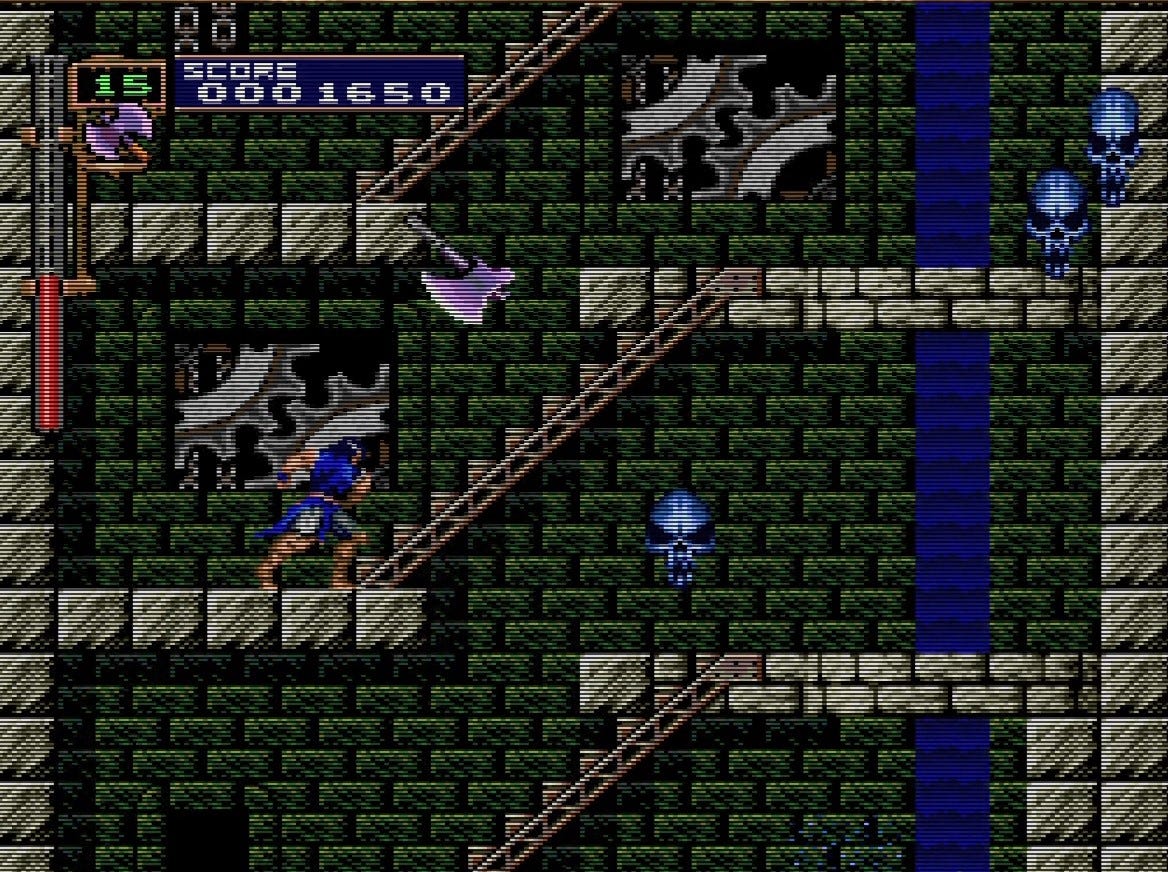
After that harsh welcome, we’re in the clock tower. Throughout this level, water elementals continuously materialize from the various pools and waterfalls around the tower. They won’t stop coming, so you need to deal with them quickly and work your way up the tower fast, before they can really multiply.
This time there are a lot of moving gears that you can walk on, but of course they’ll impede your movement. One fun thing to try is riding the “elevator” gear up the stage instead of just taking the stairs, which is much easier.
You don’t want to miss the door at the end of this area, because it leads to…
Rescuing Annette (1)
Open the door here by hitting the gear above it. You’ll have to jump off a ledge and hit it over and over again, all the while hoping no more water elementals come up to fight you (they will.)

Out on the castle turret you’ll fight a big bird who has the key you need to save Annette. Attack the eggs, if you are so cruel, for a health item.
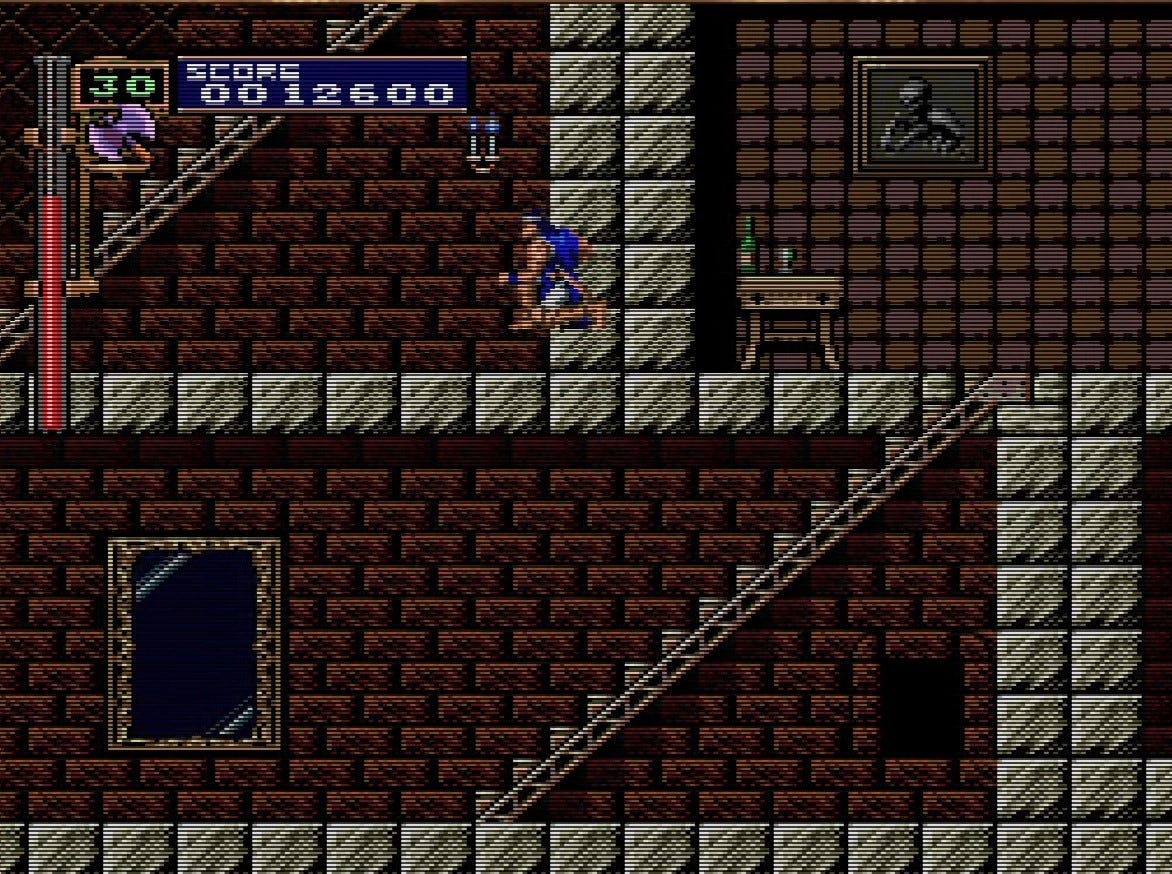
Scene 3
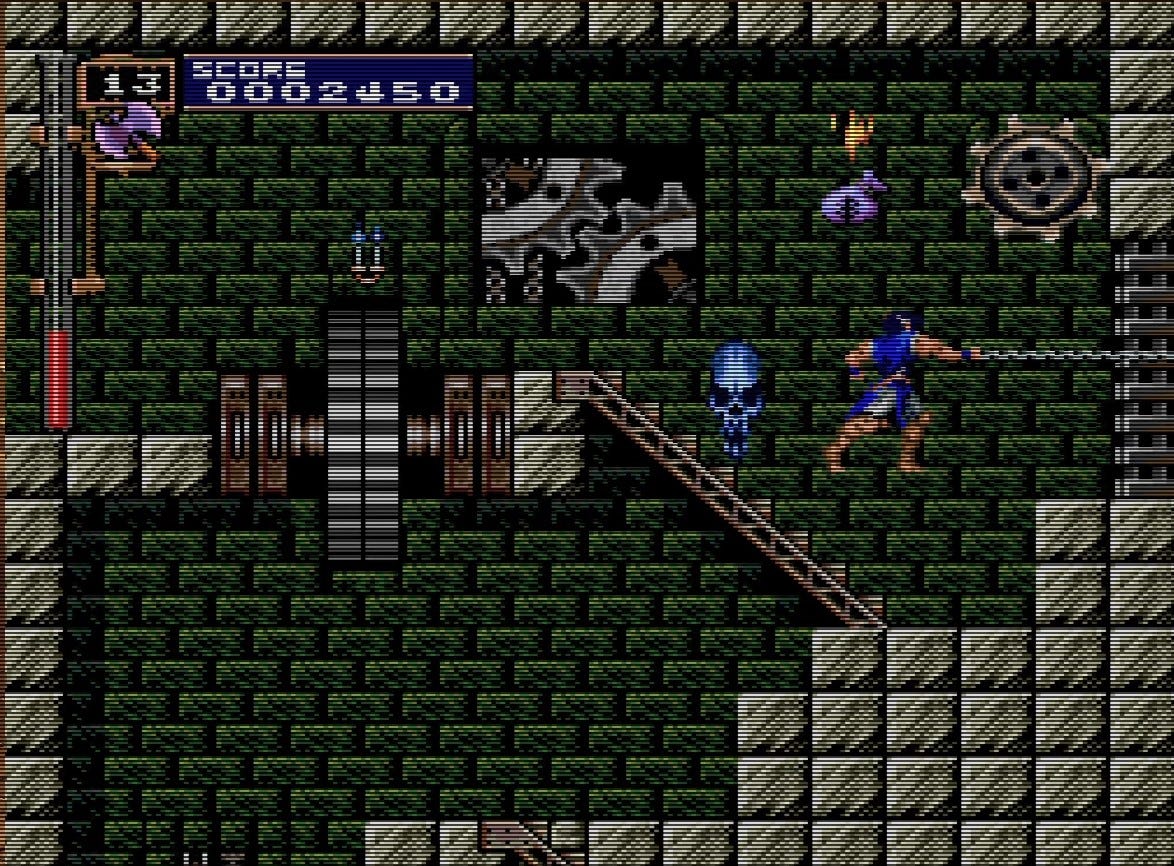
Descend the clock tower, then climb back up it. By the way, every Japanese retro game clock tower stage had Miyazaki’s Castle of Cagliostro on the mind.
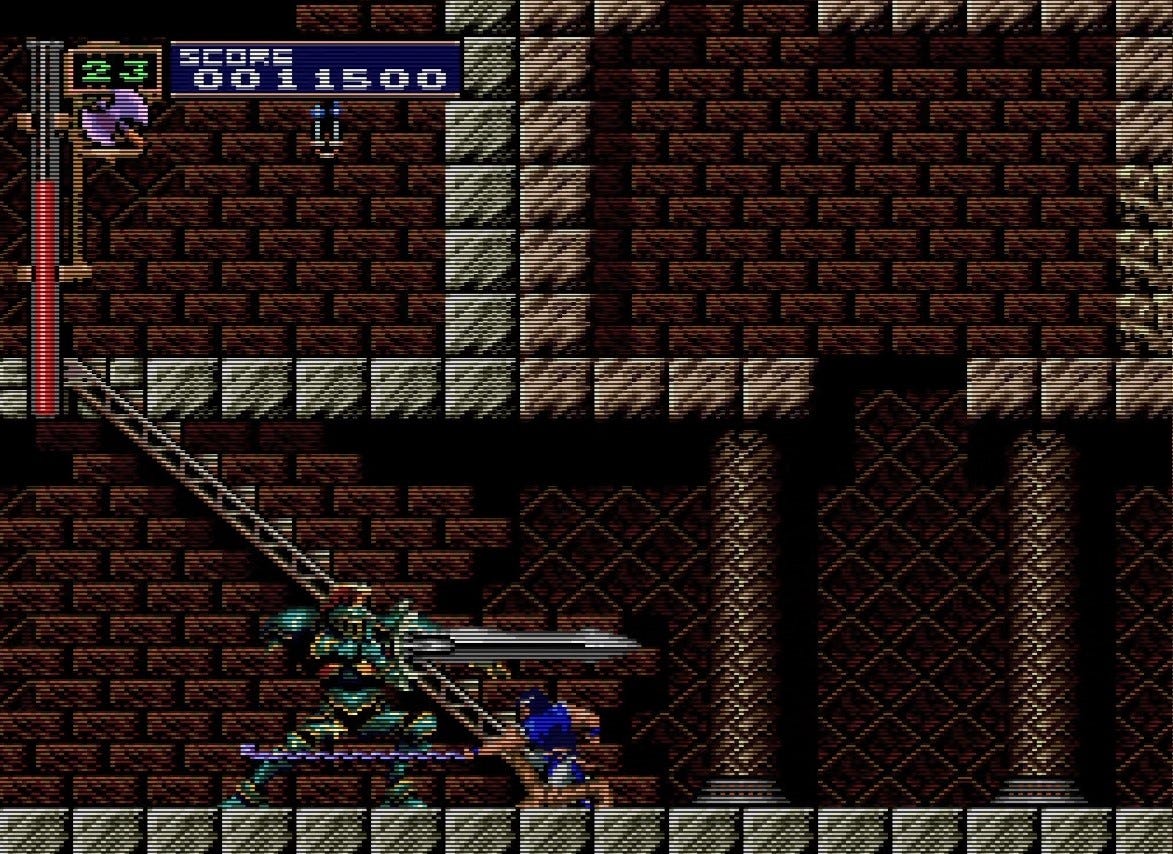
As before, the key takes the place of your sub-weapon, leaving you somewhat vulnerable in this room. Knowing that you are in this situation, the game forces you to fight two harpies, a flying enemy who would be trivial to defeat with an axe… but you don’t have an axe anymore.

The harpies are fast, and they will avoid your whips as you desperately try to keep balanced on the rotating gears. There’s no easy way to deal with them; just be patient, wait for them to stop, and strike. Try and run past them, and they will swoop and grab you.
Rescuing Annette (2)
Crossing over into the second chamber of the clock tower, you’ll see a locked door. Again, use the key like a sub-weapon to open it.
On your first run you’ll see the rescue cutscene, which I was able to save from my first play. Richter and Annette have a lover’s reunion, and Richter— like us in the audience at this point— is visibly pumped to take down Dracula and end things. Against Annette’s pleas to come home with her, Richter slides offscreen like a cool guy, towards destiny.
I’ve mentioned this, but due to the structure of this game you can only see these cutscenes once, with the character you’re playing at that moment. You have to play the whole game over again from scratch to see them with the other character. To that effect, here’s Maria’s pretty amusing cutscene where she pouts that maybe Annette wanted to see somebody else.
Scene 4
A layered map with several interconnected paths, and maybe the closest precursor in Rondo to Symphony. The bad part is that because the two paths are intertwined, because this stage is long, and because this newsletter has a length limit, I can’t take you all the way through. As such, I’m going to simply outline the smart way through this labyrinth.
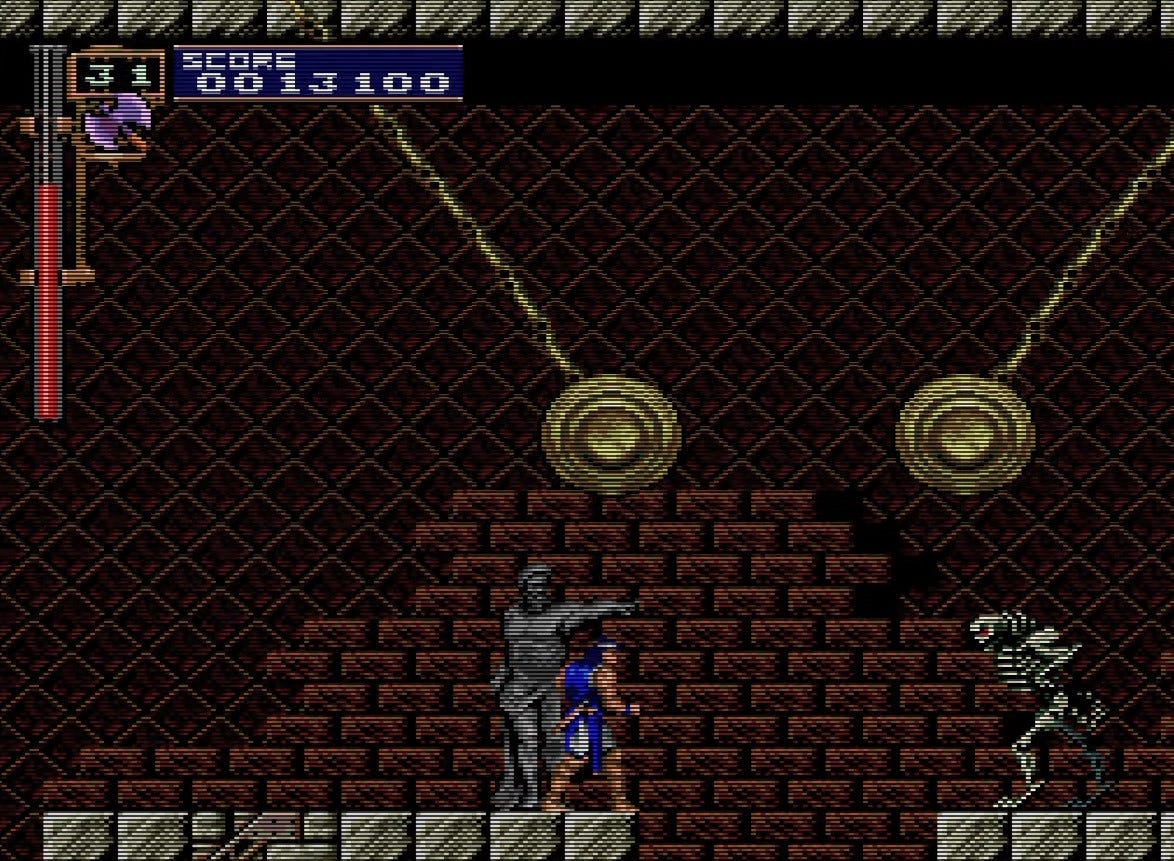
Upstairs is a platform-jumping area. Downstairs you have to fight one of the tougher enemies, the Sword Lord, over and over again. Fall down one of the pits in the platform area and you’ll end up ambushed by the Sword Lords downstairs. So the smart way through this area is to just go straight downstairs and take out the Sword Lords in a straight line.
Fighting Sword Lords is very similar to the previous Armor Lords. They have an attack that charges forward, they have an attack that flies over your head, and you just have to back off as soon as they indicate they’re going to attack. Whip them enough and they’ll die. There are also some skeleton dogs running the hallway, so be careful of them as well.
You’ll cross through a long hallway with rooms above: this is where you’d have fallen if you took the top path. There’s food in one of these rooms, but it’s bait: the Sword Lords have you surrounded if you go in and their swords can even reach you from below. So really, don’t take the top path.
At the end of this hall we have a staircase that’s kinda close to a top platform. We can actually use a little speed-runner technique to skip the long battle-heavy section ahead. If you get to just the right point on the stairs, Richter can jump through the floor and wall, and poof, he’s right next to the stairs for the next area. The designers probably knew you could do this, because there’s a Sword Lord as soon as you get there. But if you’re really brave, you can jump onto the stairs and run past him.
Next you’ll be in a long room with pits and swinging pendulums. The idea is to cross to the exit by standing on the pendulums… but to get up to them, you need to backtrack. Go all the way to the right and jump down the pit, as the statue directs. From here you can climb some stairs up to where you need to be to climb the pendulums and cross over to the boss room.
(Note that Maria can simply double-jump directly to this area from the very start of the scene, meaning she can skip through most of the most complex area of the game.)
Boss: Shaft’s Ghost
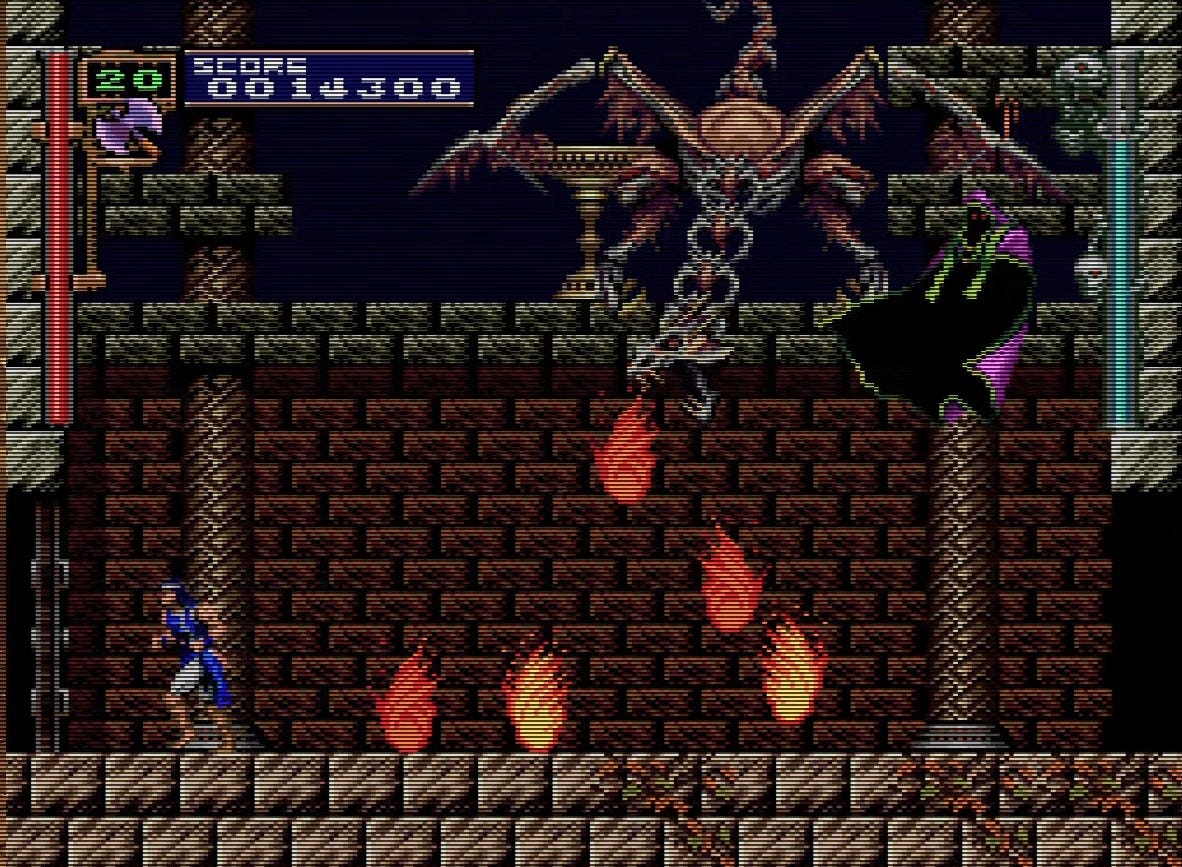
That’s right, his ghost! You thought you were done with this guy? Nope! This is a tough boss after a grueling level, especially if you got lost and worn down in the previous labyrinth, as I did many times when I was learning this stage.
This boss prep room has a long, complicated puzzle to switch weapons, ultimately allowing us to pick up the stopwatch. Punchline: as ever, the stopwatch is totally useless. Bring an axe.
Every time you hit the ghost, he’ll float over to the other side of the screen. Use this to anticipate his movements, chase him down, and get a lot of hits in on him quickly. The axe helps a lot here, if you’ve mastered its trajectory. Jump and throw, and the axe will almost always hit Shaft in his hiding spot.
But that’s not all you’re dealing with: Shaft will call bats and dragons to get in your way. When the flame-breathing dragon shows up, stop chasing Shaft and carefully evade the flame breath as it drops.

The ground dragon is the biggest problem. When you see rocks start to come up out of the ground, immediately retreat to the other side of the screen and face away from the dragon. When the dragon gets close, backflip over his head. The mysterious invincibility of the backflip should keep you from getting hurt. Try to dodge this guy in any other way and you’re going to lose a huge chunk of your life bar.
Continue to dodge and counter to eventually beat Shaft and move on to the final battle. Congrats again: this level was a real test. Next is Dracula, and vampire killers, I don’t even have enough space left in this email for a cute signoff. Let’s get him.